November 13, 2013

Tutorial--Snow Folk


This is a Tutorial for my Snow Folk. I'm sure you've seen similar patterns around. I've drawn these up myself to share with you. Feel free to use them as you wish. The patterns are available for download at the bottom of this page.

YOU WILL NEED: Fleece material, Warm and Natural Batting, etc. (I used a mattress cover for my snowmen. I buy one of the cheap pads from Walmart instead of the material from the fabric store as it's less expensive).
Beads for eyes
Jingle Bells
old Socks
homespun and/or seasonal fabric
red and black felt
buttons
black and ecru crochet thread
cinnamon sticks
My patterns include seam allowance. Cut 2 pieces for each pattern from your material.
Sew up the sides all the way around 1/4" from the edge.
Slit the back at the neck line for stuffing and turn them right side out.
Pour 2 cups of rice for the larger pieces, 1 cup for mid size, and 1/2-3/4 cup for small snow folk.
Finish stuffing with fiber fill and stitch the opening closed.
Now comes the fun part! I didn't Prim these but if you want to go that route then NOW would be the time to spray them down. Let them bake in the sun or put in a warm oven until dry.
Let's make the faces! I brushed on some blush from my make up stash and then got to work on the sewing! I used black crochet thread and some black beads (small for the little ones and large for the larger dolls....sorry, can't remember the sizes).
I went though the neck and/or the heads depending on who was getting a hat.
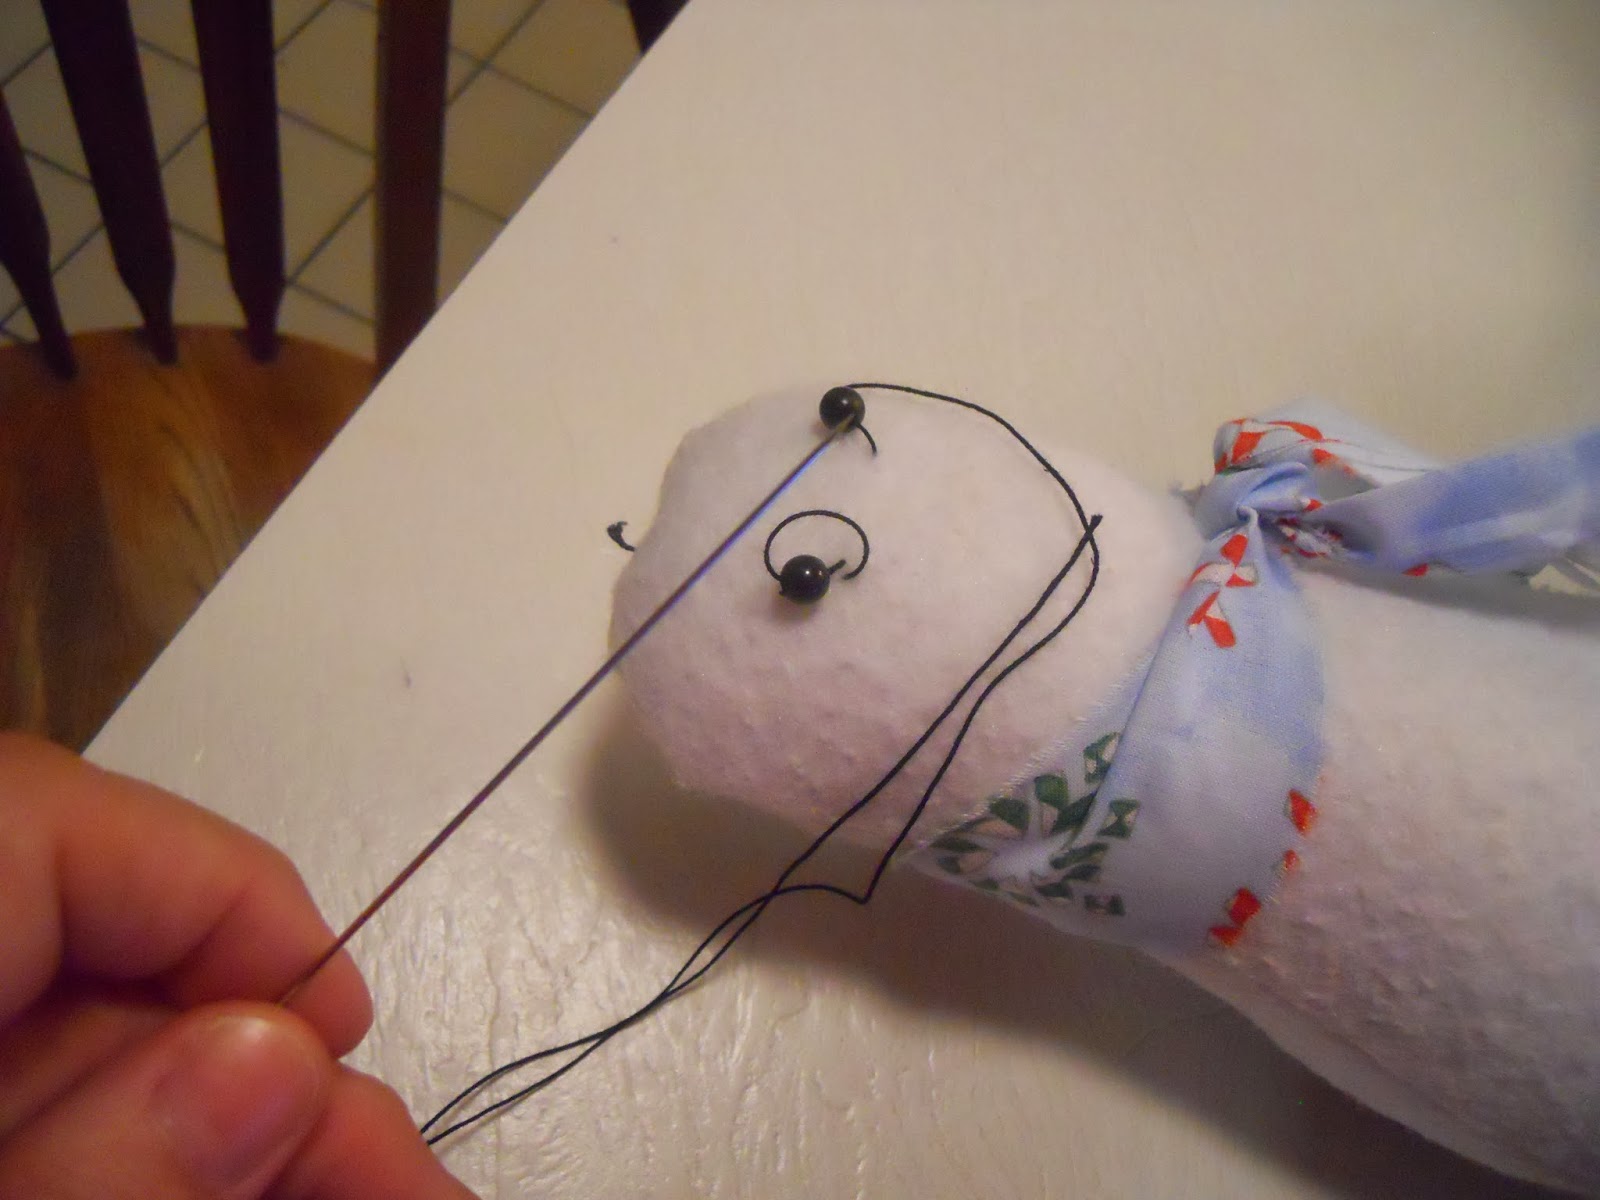
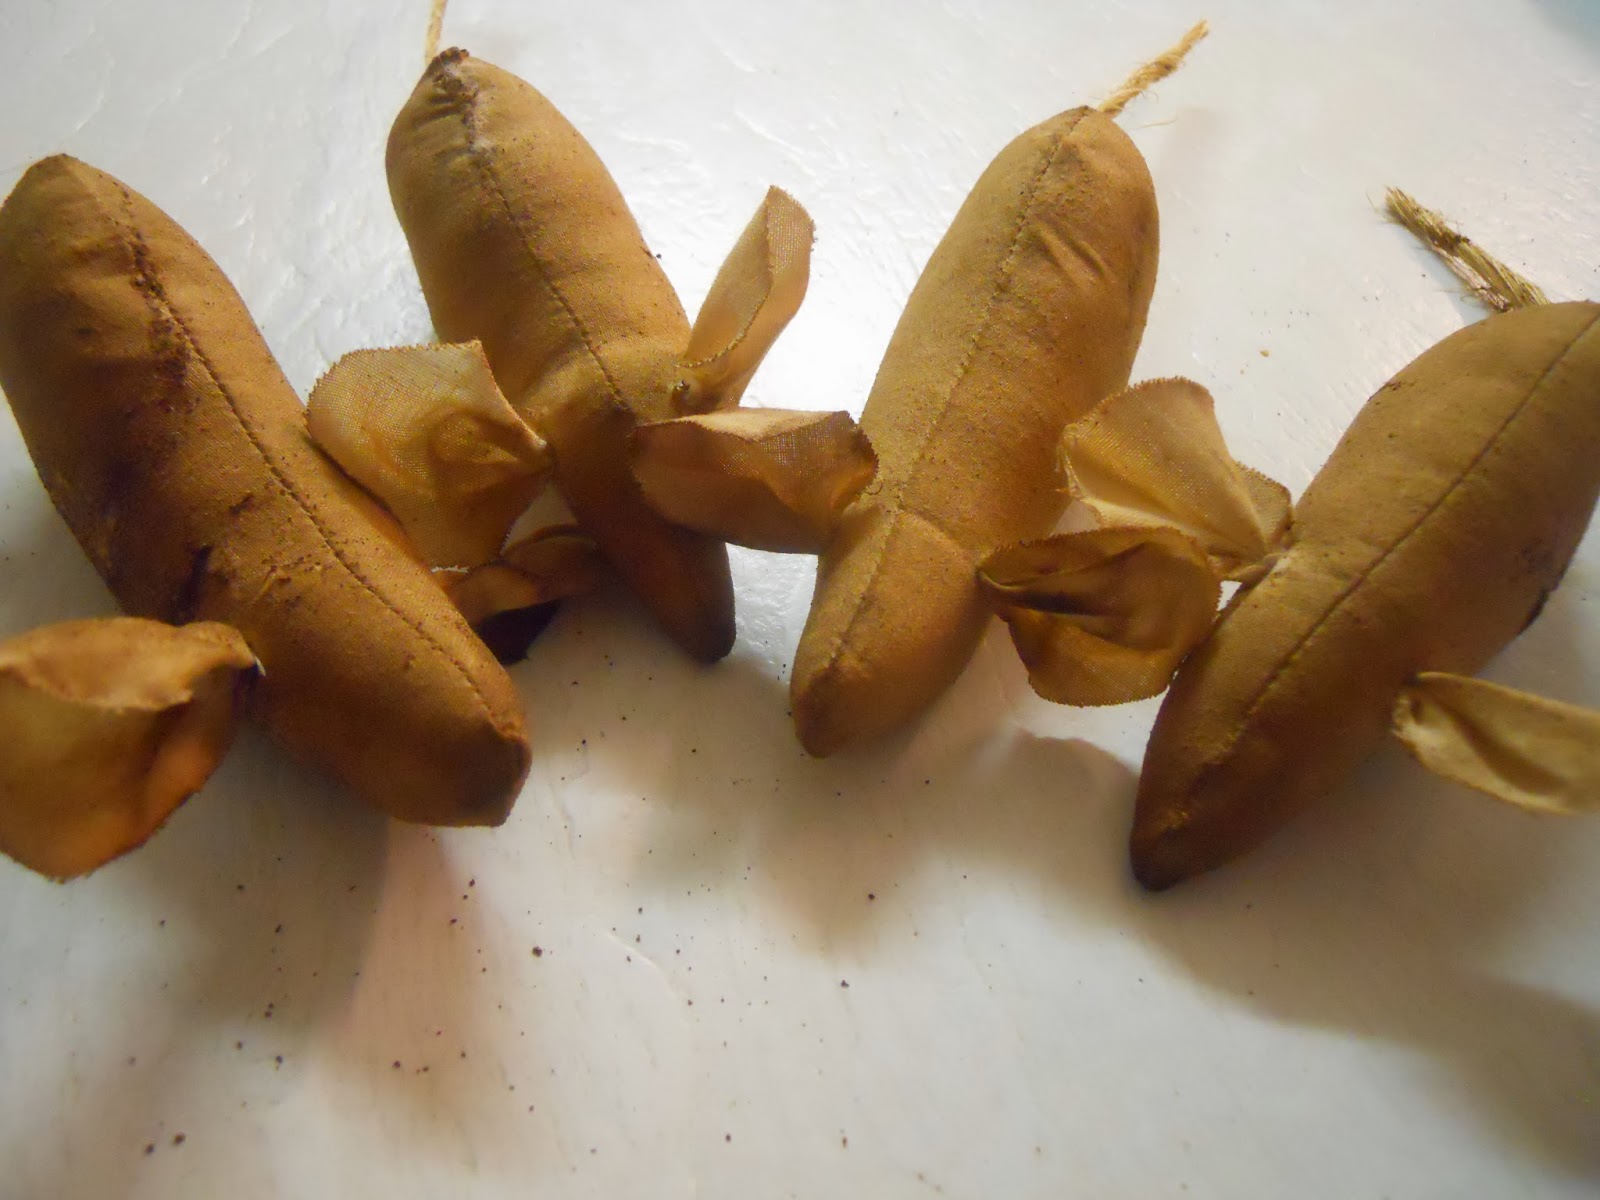
I stitched on eyebrows and the mouths then glued on the cinnamon sticks for their noses.
Next comes the neck scarf and buttons.
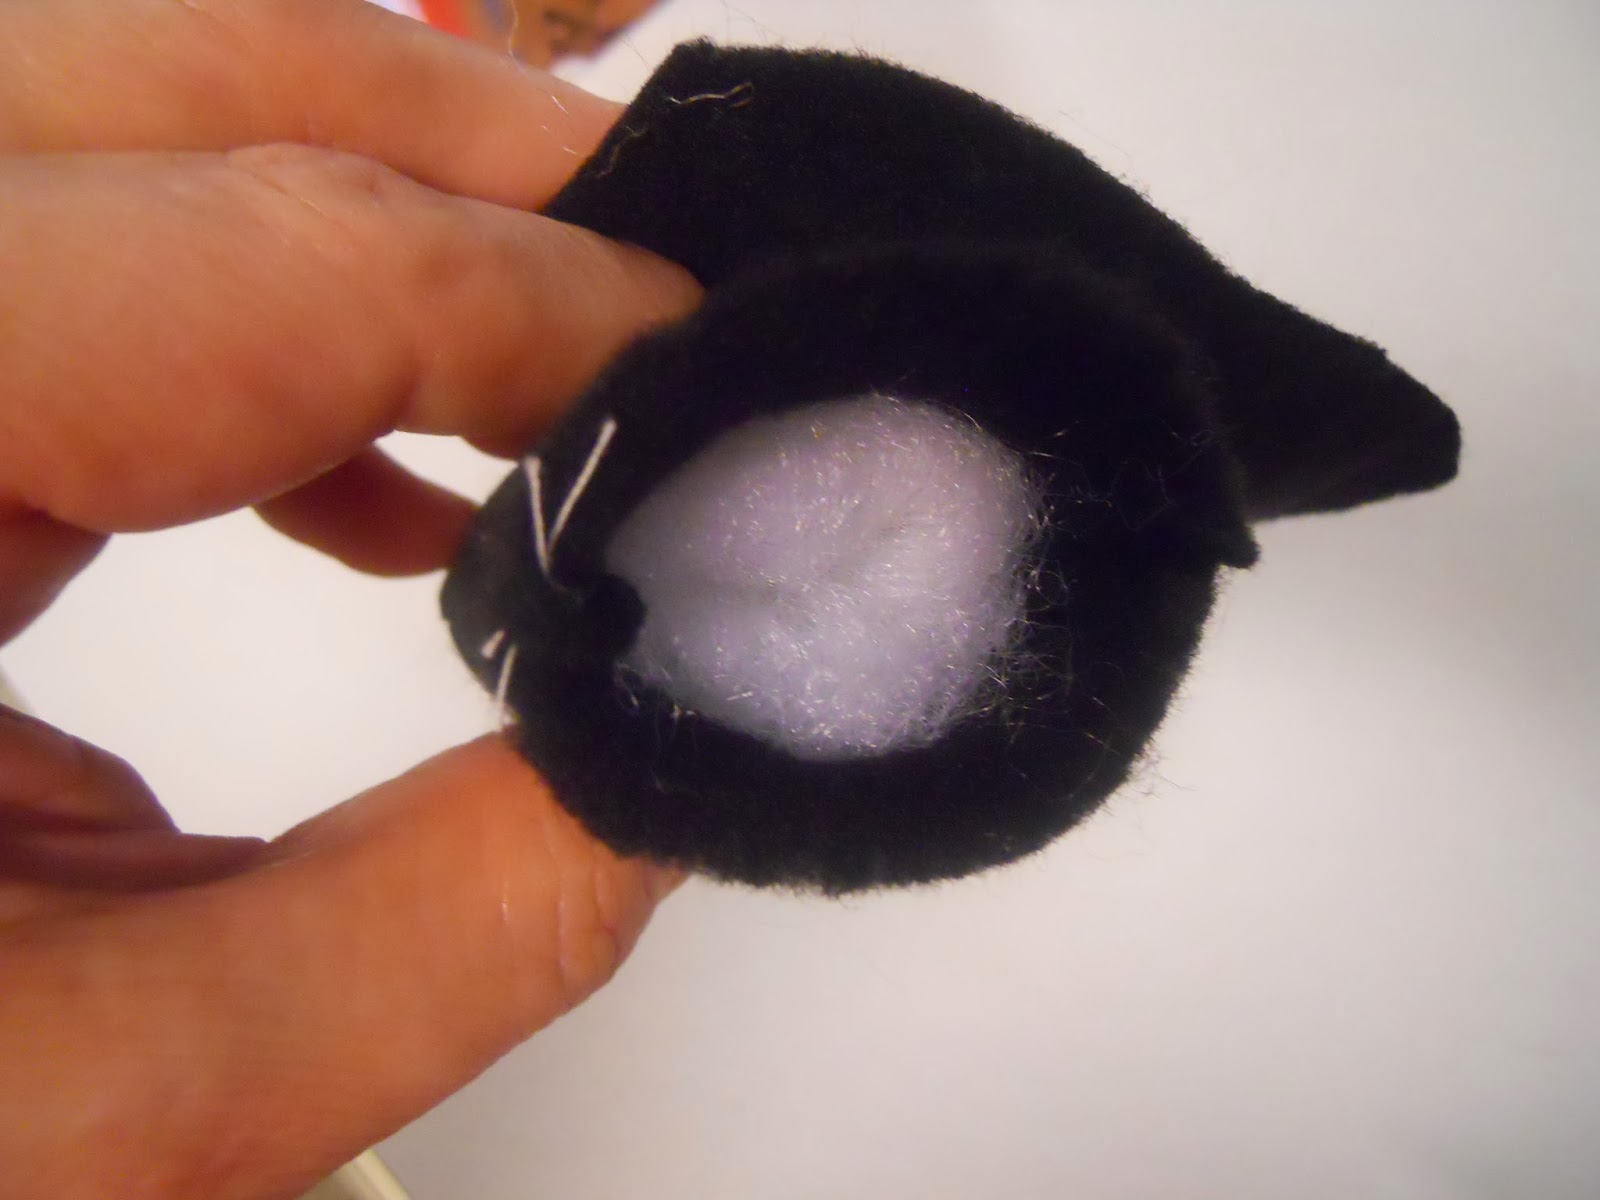
The hats are made from felt, old socks, knit material. I've included the pattern below for both the triangle 'Santa' hat and the Stove hat. Socks are super easy as all you do is cut the sock before the heel and tie it in a knot.
 Stove Hat. Cut out the brim (1 piece) and the hat part (2 pieces).
Sew it up, turn it and stuff. 
Apply a little hot glue to the inside edge of hat and place down on the brim piece. Add a bit of homespun for a hat band and a sprig of artificial holly leaves for added embellishment.
The triangle hat is super simple. Cut the one piece from knit or felt. 
Sew up the sides and turn. Add a little fur if you want! The striped piece was a sock!
 No need to stuff it. Glue to the heads of your Snow Folk.
These guys, my Half Snow Folk, don't have a mouth but they are made the same way as the other Snow Folk.
 Pattern is also at the bottom of page for these guys.
My Snow Buds have a small wooden plug instead of a cinnamon stick for their noses. They are SNOW Cute! 
Jingle bells are added with a rusted safety pin! LOVE IT!!
(You'll need Adobe to read the patterns)

If you have any questions, just message me. 
Enjoy!
}}Hugs{{
Vicky

November 8, 2013

Time Flies!

Time does fly as you get older.....Mama was right. Then again, most of the time she was!
I promised you a Giveaway and I've been dragging my feet. We're still running the A/C here but I've been creating a SNOW STORM! Just taking my time with it!
Here are a few of my 'works in progress'!

Snowman Ornies! Our OFG Team is putting together a special Christmas Ornie Giveaway. I'll tell you more about it as the time gets closer at hand.
Christmas Trees that need to be primmed and have their bases added. Maybe some Jingle bells or a Star Garland??
Woodland critters that need ears, tales, legs, and other such necessities!
Candy canes awaiting their Meeces and Christmas greenery!
I just finished these guys a few minutes ago. I need to Prim them. Or do I? 
I like the 'white' but also love the smell of my Prim mix. What do you think?
I'm working on the Tutorial for this Snow family. I drew them up along with another guy and I want to share it with you, 
SO,
Stay tuned!
My Giveaway is coming soon!
}}Hugs{{
Vicky

October 22, 2013

HORNSWOGGLED

Hornswoggled, Bamboozled, roped and tied. That's what's happened to me!
My hubby and I were asked  tricked into taking on the Fall Festival at our Church! I thought I'd moved on to Red and Green colors, Heavenly beings, and that sort of thing but NOPE; we got HORNSWOGGLED!!
Here are a few pictures of some of my items for the pumpkin patch!


This little guy and his sister helped me do A LOT of painting! He likes the tree the best! It will have Fall leaves adhered to it and small holes drilled for lollipops. If the kids choose a lollipop with a colored end, they win a prize. Otherwise, they get the lollipop!
I've used my Paasche Airbrush and it's been fun! I've got lots of practice to get in but think it'll work out really good for me when I paint the larger items that I do.
I'll have to find some time to clean up the house. Probably not till Saturday....our Festival is on this Friday!
Our OFG Team is getting ready to CELEBRATE again!
We're sewing and painting our little fingers off so that we can show you what we're made of!! Keep your eyes open and get ready to see come Oct. 28th! I'll have another Giveaway then, too!
Stay Tuned!
}}Hugs{{
Vicky

October 8, 2013

Unfinished and NEW!

Isn't it Halloween yet? I have to laugh at myself as I keep producing things from my 'box' of UFO (unfinished objects!). I decided to complete a few items that had already been in there over a year. This is one of them!
 This is Imogene! She's a wooden doll. She took a LOT of time but I finally finished her this morning! Click on her link if you want to see more of her.
I also finished up another one of these. 
This is Boo Boo Kitty! The pattern is from Old Road Primitives. Kim's patterns are SO much fun to create as she does such a great job herself!
One last batch of Candy Corns!
 They smell SOOOOO good!
My daughter sent me this guy from Illinois. She came across a little Prim shop and fell in love with some of the goodies there! She knows how much I love to make it and collect it! She's starting to get the fever herself!
Creating Fall Scarecrows and some little meeces to go on my Candy Canes and Santa Hats!They, too, smell WONDERFUL!
These are from a Pattern Bin pattern from Samantha Flanders and the late Sandy Schmidt. I'm going to miss her when I go to McIntosh Festival in a few more weeks :(
It's yet to get cool down here but at least we've moved from the 90's to the mid 80's. Hoping we get to see some cooler temps around Halloween. Nothing worse than wearing your costume and sweating to death in it!
Thanks for stopping by!
}}Hugs{{
Vicky

September 27, 2013

Feeling Some Fall!

Well, I seem to have regained my breath back! Taking a break is always restorative, and although I would've loved to have sat around this past week, I was busy carting our handicapped daughter to her doc appointments.
I forgot to share with you my Giveaway win from Barb of Barb's Heartstrokes
This is wonderful! Barb's work is FANTASTIC and I really love the rustic frame! I've had SO much fun getting to know Barb and have actually talked with her on the phone! I think she thought she was talking to a cast member of Hee Haw!! Yep, I've that country 'twang' down pat!!
The last of my Halloween has been finished. I have a doll I'm working on today but she'll be the last thing I list. I've got Turkeys and Christmas on my mind now!!
 This is Boo Boo Kitty and her Pumpkin Patch! She's from a pattern by Kim over at ORP!
This is Bo Bo! He's from a pattern by Stacey Mead of the Goode Wife of Washington County!
I'm stuffing the last of my Pumpkins and some meeces to go with them. Think I might surprise a few family members with a little something!
We're finally feeling a drop in the temps down here in our part of Florida. Nice to be in the low 80's and feel the Fall breezes start to blow in! 
My FB Giveaway is still going on and so is our OFG TEAM'S FALL FROLIC!! Links are on my right side bar. I've also got my FALL15 coupon active in my Etsy shop for 15% off everything! Just click on my shop tab on my right side bar!
Stay tuned!
Good things Holiday-ish coming soon!!
}}Hugs{{
Vicky

September 20, 2013

A "Breather"!

 I need a few days; a break; a breather as we call it down here. I've been working my tail end off completing orders and new designs since the first of August. I'm exhausted and sleep deprived.....and I just put the last 3 packages in the mail today. HALLELUJAH!!! Now, don't get me wrong. I like to sell my items which is the whole idea with the Etsy thing, ya know. I just like to keep my Hobby what it is. AND, I refuse to call it work.....however close it comes to the actual word itself!
 Here are some of my goodies I've been working, uh, 'hobby-ing' on!
Something a customer asked for. Brand new and my own design....4th of JULY GARLAND.
It's got a flag, an apple pie, a decoupaged star, a bat and baseball, and Uncle Sam, and a Firecracker!
Always a favorite for the Fall season, I've started filling orders on these THANKSGIVING GARLANDS and got a few sent out. Some of the pieces came from designs by Myra Mahey; just not sure of the name of the book, though. I'm sure I'll be busy throughout October making them, too!
 This little wooden gal is getting some fancy duds this weekend! She'll come equipped with a broom and her little wooden black kitty! She's a bit of a Proto type and if she turns out, I'll list her in the shop.

Pumpkins baked and primmed! A pattern from Kim at ORP or Old Road Primitives. I'm finishing up the kitty that goes in the Pumpkin Patch this next week and then I'll show you. 
If you haven't signed up for my FACEBOOK 600 Fans Giveaway, then run don't walk! It ends Monday, Sept. 30th. Just click on my badge on my right side bar and find the photo of the hat to leave a comment. SHARE for an extra chance!
Our temps have cooled down a bit and dryer air is moving in. We actually may get close to 60 at night!! WOOO HOOO!!!! HA! 
}}Hugs{{
Vicky


September 7, 2013

A WINNER and Some Goodies to Share!

I've got a WINNER for my Fall Giveaway! 
This Fall Garland is going to.......
PBALLARD!
CONGRATULATIONS!!
Email me at VicWeave@aol.com with your address so I can get this sent off to you on Monday!
THANK YOU EVERYONE for participating in my Giveway. I'm finsihing up my 600th FOLLOWER Giveaway for FB so make sure you keep an eye out for it. It is such a CUTE one!!
Lots and Lots of orders for me! My saws are buzzing and my sanders are stirring up dust! 8 orders sitting on my table now as I type. I give them 7-10 days for production time and boy do I let out a big WHEW as I get them finished. Still, it's fun and I enjoy my 'therapy'!
Giving you a peek at a few of my newest designs. They''ll be available in my Etsy once our OFG Team's FALL FROLIC begins. LOVE THE FALL or what we get of it down here in the lovely state of Florida!!
 This is Jo Jo and Jack. It's from a pattern by Susan Dean of Threadbare Primitives.
This is a Make-Do that I made using a pattern for the Scarecrow head by Olde Annie Primitives.
I participated in our OFG Team "FRIENDS" swap.
SWAP OVERLOAD!! She went just a bit nuts but I'm all the better because of it!
I also swapped with Arlene of Twisted Knickers.
The Tea Towel is soooooo pretty and the Tartan Bunny is adorable!
I've a few more things to share with you but I've got to get busy at my painting table!
As Always....
STAY TUNED!
}}Hugs{{
Vicky

September 5, 2013

TUTORIAL -- Blue Jean Pocketful


These are super easy and so fun to make!
You'll need a pair of Blue Jeans.
Silk flowers
Stiffy  Fabric Stiffener
Macrame Jute
A Crow, homemade or store bought
Hot glue
Floral Foam
Floral Moss
A Tag of some sort

LET'S GET STARTED!
Cut out the Pockets of your old Blue Jeans. Make sure you actually cut the material underneath and don't just tear off the outside of the pocket. Open up a Pocket and poor STIFFY fabric stiffener inside it and rub it all over the Pocket, inside and out. This is messy, which is why I didn't get a picture of it! After you have it saturated well, take some wax paper and ball it up; stuff it into the pocket. Lay down the pocket on some more wax paper and let it dry over night.
Get yourself a piece of Floral Foam and cut it to fit inside the Pocket. Add some Hot Glue to the inside of the Pocket and place your Foam down inside.
For my strap I've taken 3 strands of Macrame Jute and braided it.
Then I tie off both ends with a single knot, trim them, and Hot Glue to the inside edge of both sides of the Pocket.
I then apply a bit more Hot Glue to the top of the Foam and add some Floral Moss. 
Now comes the FUN part! The Floral Design! I was always taught to choose the tallest piece first and fill in around it......so I did!
I started with my Crow, which I made from a pattern by Thread Bare Primitives. Cut a small hole in the crow, add a bit of Hot Glue, and add the dowel. I didn't paint the dowel this time but I usually do. The flowers cover it mostly so I wasn't concerned.
Fill in your flowers. Small ones amongst the large ones, please!
Finish it off by adding more Floral Moss around the edges where you can see gaps. Remember to add the Hot Glue first!
Add yourself a Tag and you have yourself a Super Cute Blue Jean Pocketful! Here's another one that I just finished last night!
This Tutorial is yours to share where you may. Just please Link my Blog to it!
As Always.....STAY TUNED!
}}Hugs{{
Vicky